How to Install a Printer on Your Computer: Complete Installation & Setup Guide (2025)
Getting a new printer connected to your computer might feel overwhelming, but with clear instructions, it becomes a simple process. This complete step-by-step guide will walk you through setting up your device, whether it's a USB-connected or wireless model. We'll cover unboxing, assembling the hardware, installing the software, and solving common setup issues.
Download Drivers for your printer
Get personalized assistance and the correct software for your specific printer model.
Why Use Our Support Service?
- Get the exact drivers for your printer model
- Step-by-step setup guidance
- Troubleshooting for common issues
- Wireless setup assistance
- Support for all operating systems
- Quick response time
Your information is secure and will only be used to provide the correct software.
Our team will contact you shortly with setup instructions.
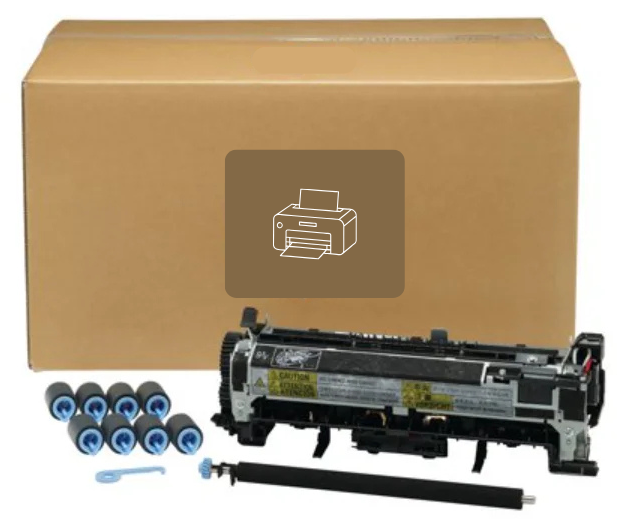
Step 1: Unboxing Process
Unpack the Printer:
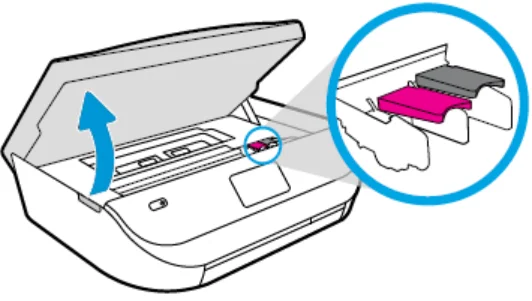
Unpack the printer carefully and remove all protective films, tapes, and packaging materials from both the exterior and interior, paying special attention to the cartridge area. Take out all included accessories from the box before starting the setup.
Make sure you have the following items ready:
- Printer unit
- Power cable
- USB cable (if supported)
- Ink or toner cartridges
- Setup manual and documentation
- Software CD or installation instructions
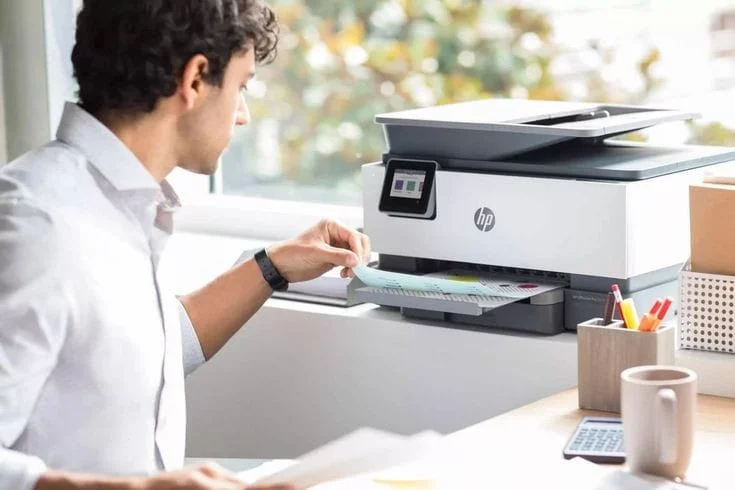
Step 2: Printer Installation
Unpack the Printer:
Unpack the printer carefully and remove all protective films, tapes, and packaging materials from both the exterior and interior, paying special attention to the cartridge area. Take out all included accessories from the box before starting the setup.
Make sure you have the following items ready:
- Printer unit
- Power cable
- USB cable (if supported)
- Ink or toner cartridges
- Setup manual and documentation
- Software CD or installation instructions
Step 3: Connect printer to Your Computer
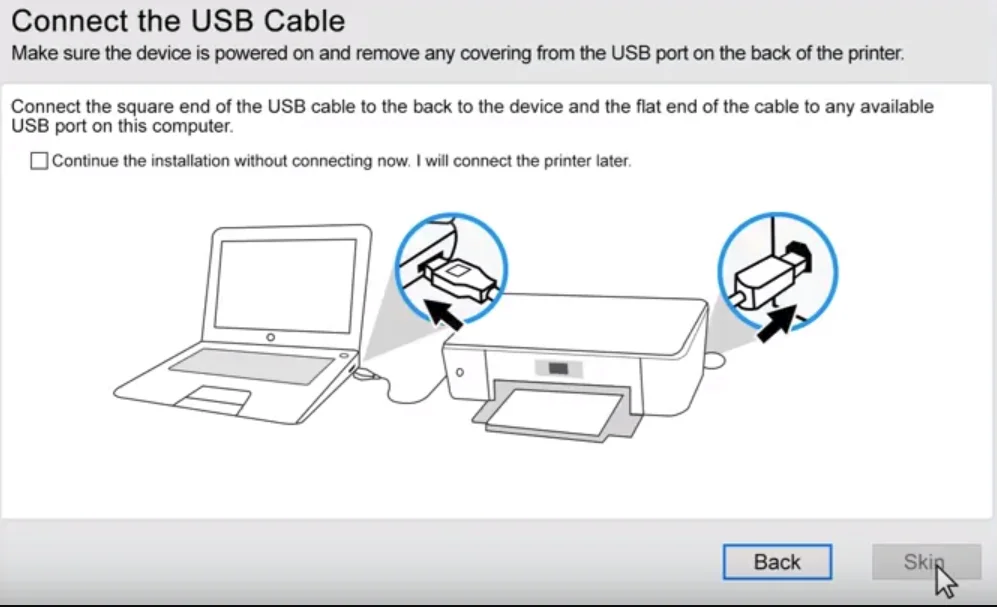
USB Connection (Wired Setup):
Option 1: USB Connection (Wired Setup)
Connect one end of the USB cable to the printer and the other to your computer for a direct setup. Your computer should detect the printer automatically — simply follow the on-screen prompts to complete the installation.
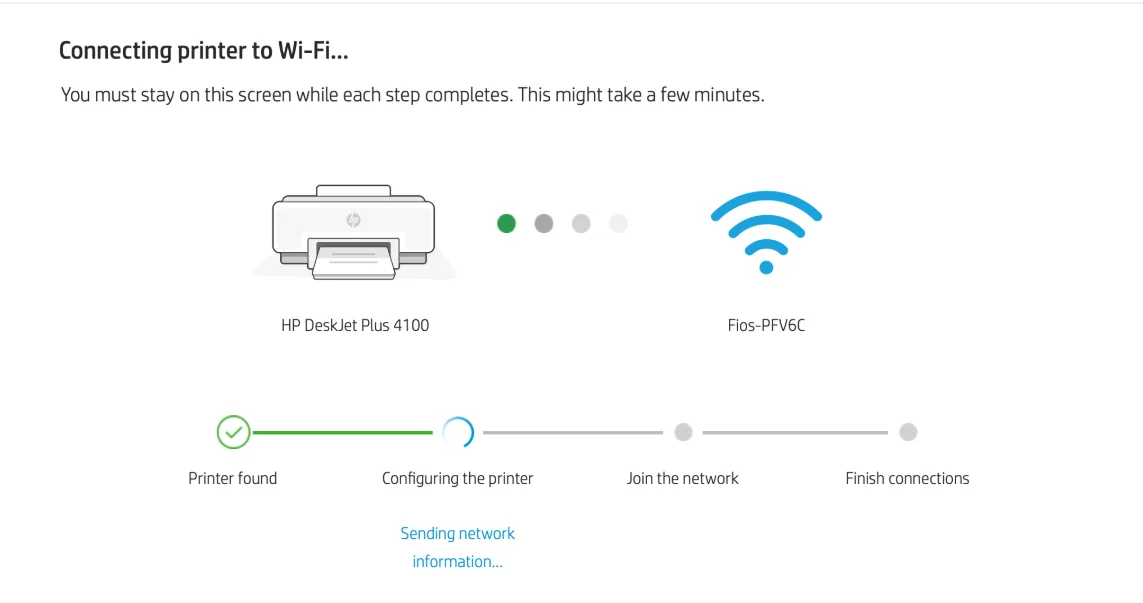
Option 2: Wireless Connection (Wi-Fi Setup)
- Enable Wi-Fi on the Printer: From the printer's control panel, go to Settings > Network Setup > Wireless Setup Wizard. Select your Wi-Fi network and enter the password.
- Connect via WPS (Optional): Press the WPS button on your router, then choose "WPS" or "Push-Button Setup" from the printer's menu to connect instantly.
- Verify the Connection: Print a wireless test report from the printer's menu to confirm the connection is working correctly.
Step 4: Printer Driver Installing
1. Download the Software:
- Visii Printer Store
- Enter your printer model and download the latest software and drivers.
2. Run the Installer:
- Open the downloaded file and follow all the instructions.
- Select the preferred connection type USB or Wireless
3. Complete Setup:
- Sign in to your HP account (optional) for additional features.
- Register your printer for warranty and support.
Step 5: Testing the Printer
Print a Test Page:
- Open the Control Panel, then select Devices and Printers.
- Locate your printer in the list, right-click on it, and choose Printer Properties.
- Click on the Print Test Page button to verify that the printer is functioning correctly.
2.Scan a Document (if applicable):
- Position your document on the scanner glass or load it into the document feeder.
- Use the printer's scanning software or a compatible scanning app to run a test scan.
Troubleshooting Common Printer Issues
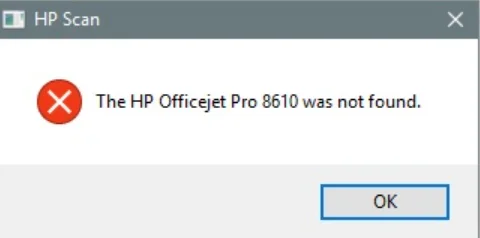
1. Printer Not Detected:
- Disconnect the USB cable, then reconnect it — or confirm that the printer is connected to the correct Wi-Fi network.
- Restart the printer to refresh the connection.
2. Poor Print Quality:
- Inspect the ink or toner levels, and replace them if running low to maintain clear, consistent prints.
- Use the printer's internal cleaning feature to improve print quality.
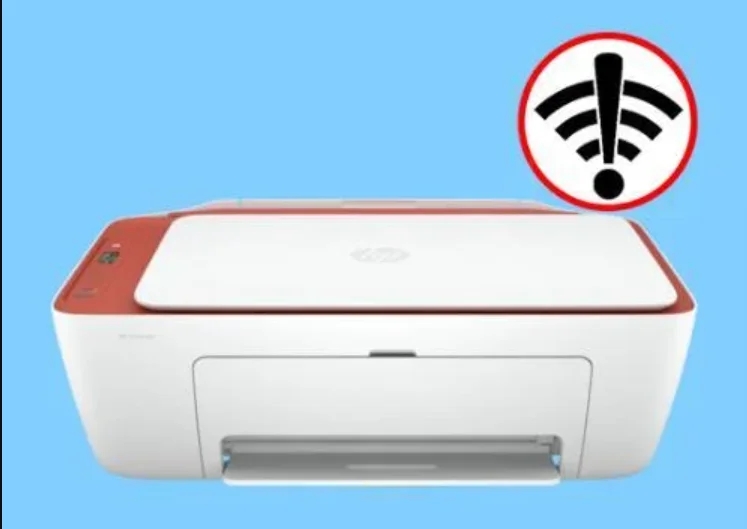
3. Wireless Connection Issues:
- Place the printer nearer to the Wi-Fi router for a stronger signal.
- Double-check the network password or restart the router to refresh the connection.
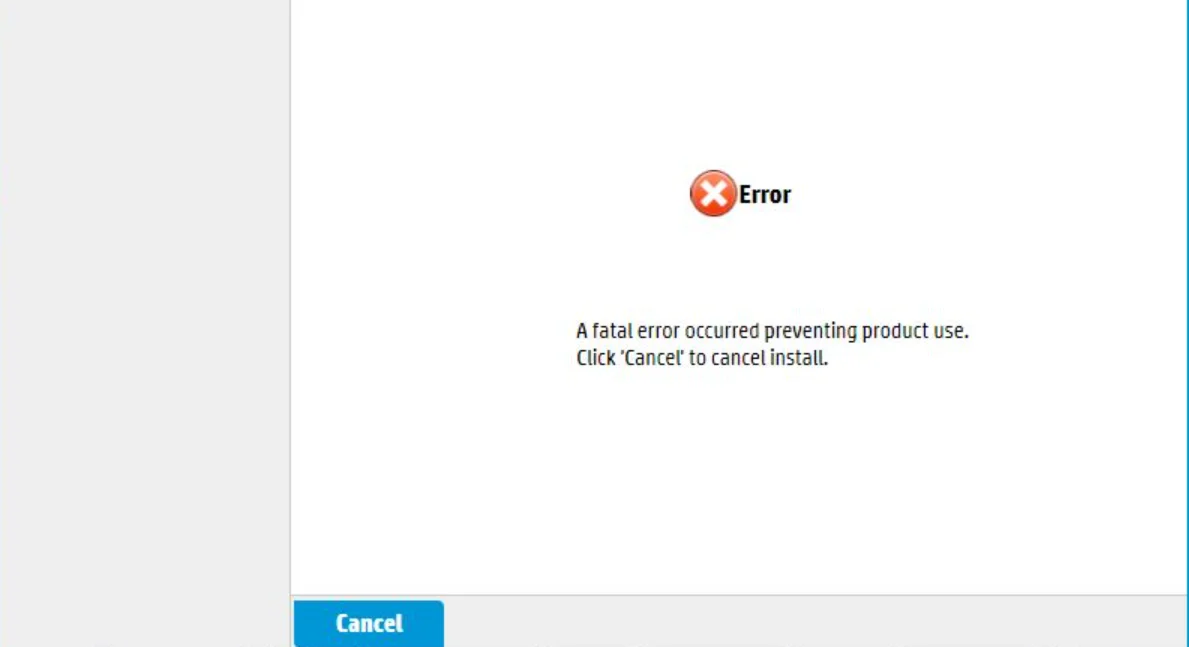
4. Software Installation Errors & Additional Features:
- Temporarily turn off any antivirus software or firewalls during installation.
- Download and install a compatible mobile printing app for convenient printing and scanning.
- Use the app to check ink or toner levels, reorder supplies, and fix common issues.
- Set up cloud printing services like Google Cloud Print for remote access.
- Link the printer to a smart assistant such as Alexa or Google Assistant for voice-activated printing.
Setting up and installing a printer is simple when you follow the right steps. Whether you choose a wired or wireless connection, making sure the hardware is properly assembled, installing the correct drivers, and addressing common issues will ensure the best performance. Once the setup is complete, you can enjoy crisp, high-quality printing and scanning for both home and office needs.
